Making springs
April 10, 2012
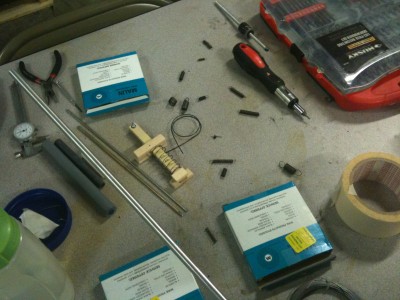
 The workspace. We put that metal bar into the chuck of a power drill, so that we could wind the wire around it as it rotated
Last fall, a fellow Hive76 member (Dave Sharp) brought in the necessary equipment to make springs! I remember being a kid and playing with all the springs I’d find from ballpoint pens, or from fold-out mattresses, and in many, many other places. They all had different qualities, and it’s interesting to know that they can all be made using a very similar process. (Also, I always thought they were kind of magical - how do you get a tough metal wire to hold a shape like that, forever?)
There are three types of springs: extension, compression, and torsion. Extension springs are naturally short, and stretch and then snap back when you let the weight off them. Compression springs are naturally long, and get compressed under pressure. Finally, torsion springs are springs that rotate instead of compressing or expanding. A good example of where a torsion spring might be used is an oven door that clicks closed and has a little bit of natural push when you open it.
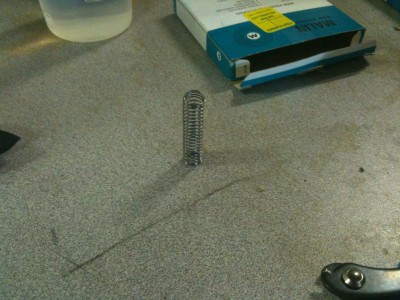
It turns out that springs are relatively simple to make. We used some thick wire, and held it tight against a rotating power drill to get a properly compacted coil. That was pretty much it. Most springs are heat-treated after they’re made this way, which we couldn’t do at Hive, but these seemed like they’d work in a pinch.
