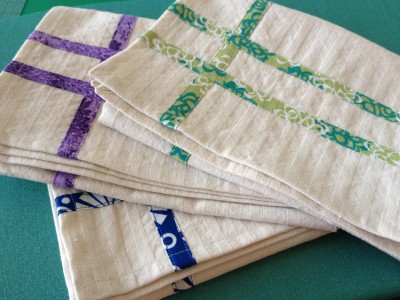
Hello! I’m Lilli, Justin’s wife and an avid eater of Justin’s cooking, an occasional sous-chef, and a DIYer. I want to share this tea towel project with you because it is easy, impressive, and useful. You can make them for yourself or they would make a nice wedding or house warming gift.
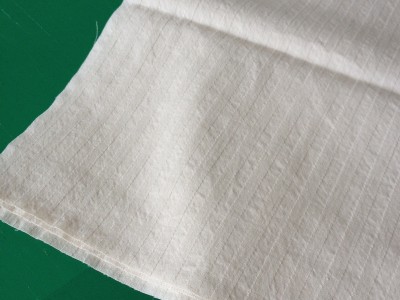
| Step 1: I started with pretty oatmeal-colored cotton twill with a woven-in stripe. I cut a few yards into pieces about 20" by 28".
|
|
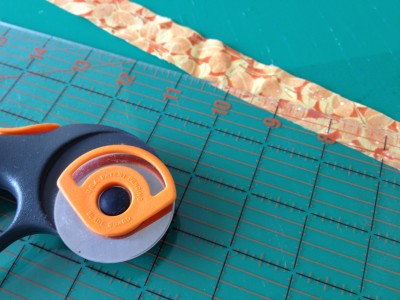 [caption id="attachment_1784" align="alignleft" width="240" caption="Cut colorful cotton into 1" strips"][/caption] [caption id="attachment_1784" align="alignleft" width="240" caption="Cut colorful cotton into 1" strips"][/caption]
|
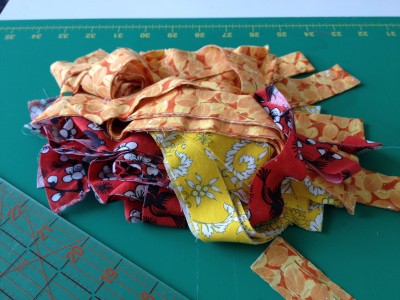 [caption id="attachment_1785" align="alignleft" width="240" caption=""Stash-busting" strips of colorful cotton"][/caption] [caption id="attachment_1785" align="alignleft" width="240" caption=""Stash-busting" strips of colorful cotton"][/caption]
|
|
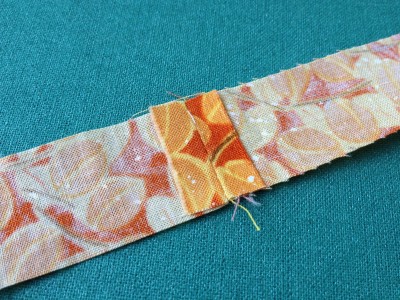 [caption id="attachment_1787" align="alignleft" width="240" caption="Piecing the strips together as needed"][/caption] [caption id="attachment_1787" align="alignleft" width="240" caption="Piecing the strips together as needed"][/caption]
|
Step 2: This project can be a "stash-buster" too! I used leftover fat quarters from a quilting project to make the colorful strips on each tea towel. Cut the cotton into 1" strips and piece them if necessary for the 28" strip. Although the strips will be run through a bias tape maker, for our purposes it does not matter if the strips are cut on the bias or straight of grain.
|
|
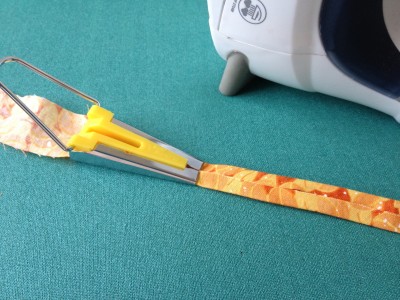 [caption id="attachment_1789" align="alignleft" width="240" caption="Press the 1" strips using a bias tape maker"][/caption] [caption id="attachment_1789" align="alignleft" width="240" caption="Press the 1" strips using a bias tape maker"][/caption]
|
Step 3: Press the cotton strips by running them through a bias tape maker. For our 1" strip, use the 1/2" bias tape maker. If you don't have a bias tape maker you can make the tape by folding in and pressing 1/4" on each raw edge of your strip, making a bi-fold 1/2" strip.
|
|
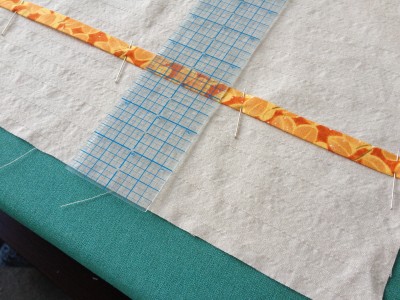 [caption id="attachment_1791" align="alignleft" width="240" caption="Pin colorful strip approx. 3" from edge of 28" side"][/caption] [caption id="attachment_1791" align="alignleft" width="240" caption="Pin colorful strip approx. 3" from edge of 28" side"][/caption]
|
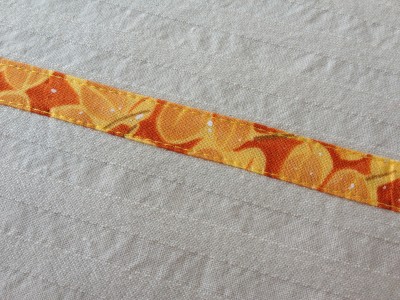 [caption id="attachment_1790" align="alignleft" width="240" caption="Top stitch colorful strip to the towel"][/caption] [caption id="attachment_1790" align="alignleft" width="240" caption="Top stitch colorful strip to the towel"][/caption]
|
| Step 4: Pin the tape approximately 3" from the left of the 28" side of the cotton twill. Because mine is striped I was able to follow a stripe the length of the towel. Top stitch the colorful strip in place, using a neutral bobbin color and a matching top thread.
|
|
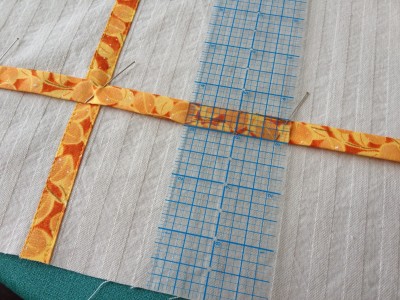 [caption id="attachment_1793" align="alignleft" width="240" caption="Pin and stitch cross strip 3" from 20" edge"][/caption] [caption id="attachment_1793" align="alignleft" width="240" caption="Pin and stitch cross strip 3" from 20" edge"][/caption]
|
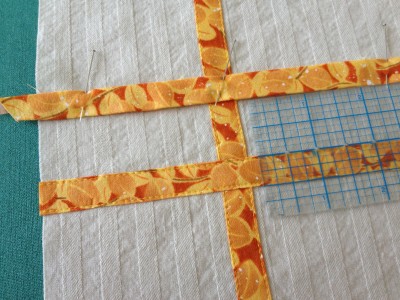 [caption id="attachment_1792" align="alignleft" width="240" caption="Pin and stitch second strip 1" from first"][/caption] [caption id="attachment_1792" align="alignleft" width="240" caption="Pin and stitch second strip 1" from first"][/caption]
|
| Step 5: Pin the cross strip 3" from the 20" edge. Top stitch. Pin the next cross strip 1" from the first and top stitch.
|
|
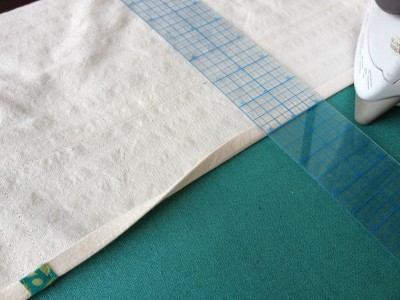 [caption id="attachment_1794" align="alignleft" width="240" caption="Fold and press each edge 3/4", twice"][/caption] [caption id="attachment_1794" align="alignleft" width="240" caption="Fold and press each edge 3/4", twice"][/caption]
|
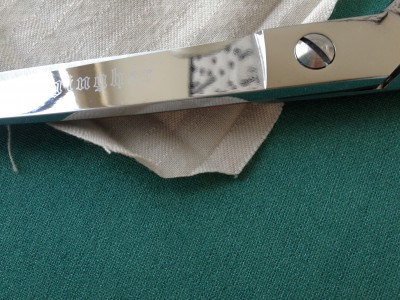 [caption id="attachment_1795" align="alignleft" width="240" caption="Cut each corner at a 45 degree angle from fold to fold"][/caption] [caption id="attachment_1795" align="alignleft" width="240" caption="Cut each corner at a 45 degree angle from fold to fold"][/caption]
|
|
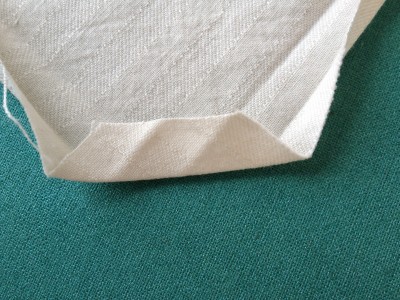 [caption id="attachment_1796" align="alignleft" width="240" caption="Press corner up to inner most fold"][/caption] [caption id="attachment_1796" align="alignleft" width="240" caption="Press corner up to inner most fold"][/caption]
|
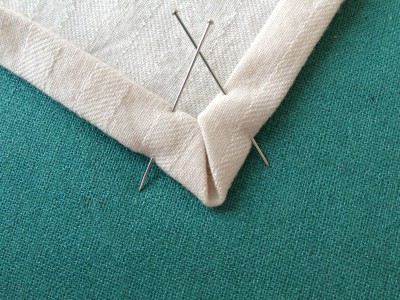 [caption id="attachment_1797" align="alignleft" width="240" caption="Mitered corner pinned and ready to sew"][/caption] [caption id="attachment_1797" align="alignleft" width="240" caption="Mitered corner pinned and ready to sew"][/caption]
|
| Step 6: We are almost done! Finish the edges of your tea towel by twice folding and pressing each edge approximately 3/8". Miter the corners by cutting off each corner from fold to fold at a 45 degree angle. Fold in the corner up to the inner most fold.
|
|
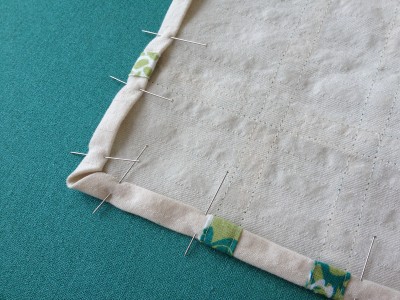 [caption id="attachment_1798" align="alignleft" width="240" caption="Pin along the folded edges of the towel"][/caption] [caption id="attachment_1798" align="alignleft" width="240" caption="Pin along the folded edges of the towel"][/caption]
|
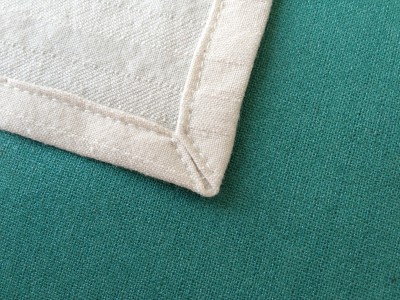 [caption id="attachment_1799" align="alignleft" width="240" caption="Stitch along the edge of each mitered corner"][/caption] [caption id="attachment_1799" align="alignleft" width="240" caption="Stitch along the edge of each mitered corner"][/caption]
|
| Step 7: Pin and sew all along the folded edges of the towel, taking the time to sew along each mitered corner.
|
|
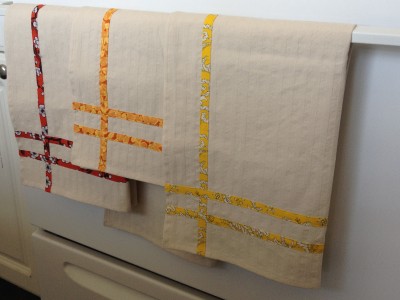 [caption id="attachment_1800" align="alignleft" width="240" caption="Finished tea towels"][/caption] [caption id="attachment_1800" align="alignleft" width="240" caption="Finished tea towels"][/caption]
|
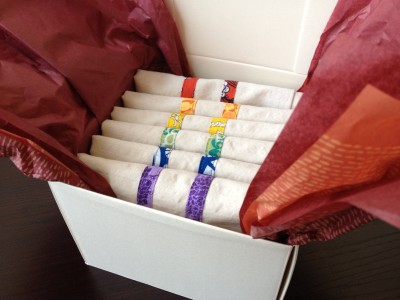 [caption id="attachment_1801" align="alignleft" width="240" caption="Packaged in a pretty box"][/caption] [caption id="attachment_1801" align="alignleft" width="240" caption="Packaged in a pretty box"][/caption]
|
|
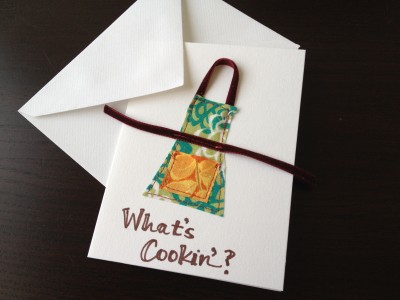 [caption id="attachment_1802" align="alignleft" width="240" caption="A card to go with"][/caption] [caption id="attachment_1802" align="alignleft" width="240" caption="A card to go with"][/caption]
|
You are done! I packaged my tea towels up in some pretty gift boxes and made a matching card to go with using left over fabric. I hope you enjoyed this tutorial. Happy cooking!
|
