How to roll pasta dough with a rolling pin
July 16, 2011
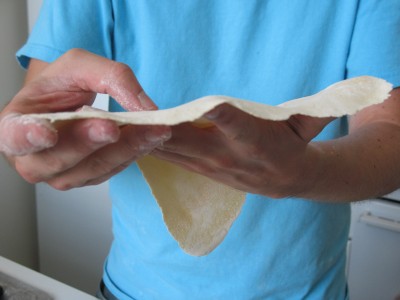
[caption id="attachment_1316" align="alignleft" width="400" caption="Slightly bigger..."]
Slightly bigger...When I decided to make this beet ravioli, I knew that I was also deciding to make pasta dough from scratch. As I mentioned in that entry, the last time I attempted to do this, it was a disaster. The risk was heightened by the fact that I do not own a pasta rolling machine! Would I be able to fix my mistakes from last time around? And could I get by with a rolling pin?
The dough doesn’t have a lot of liquid (it’s 4 eggs, which is barely a cup, to 2.75 cups of flour), so I knew I would have to be very aggressive to get the dough thin enough.
First, I processed the eggs and flour together, rolled the resulting dough into a ball, and let it sit for a couple hours as is called for in the recipe. This allows the gluten that’s formed in the egg/flour mixture to relax so you don’t get tough, chewy dough, and so you can roll it later. Check out my “understanding flour” entry to learn more about what this means, you won’t regret it.
That was all fine; I’ve made dough dozens of times before. The next step, rolling the dough, is what was causing my anxiety. I did a few things that made this successful this time around:
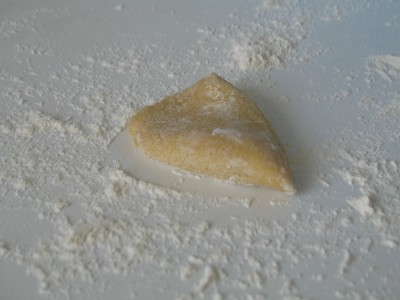
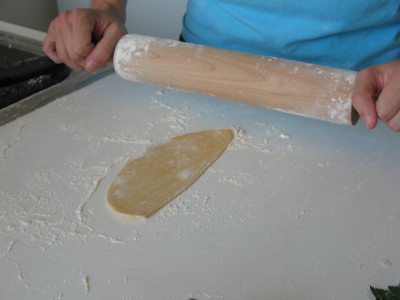
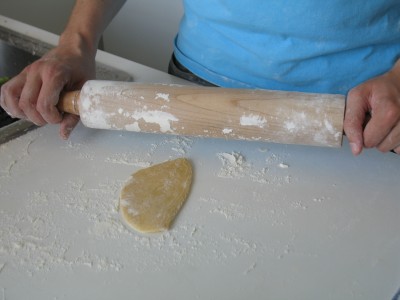
Starting with very little dough. You’ll see that I roll a piece of dough that about an inch around into a sheet that’s about the same size as a piece of paper. Starting with little dough is more tedious, but you can get much better results.
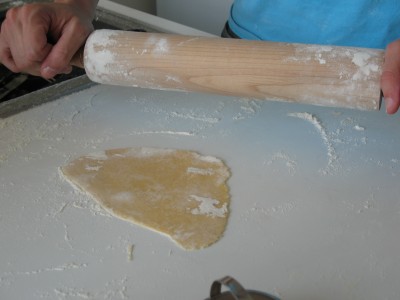
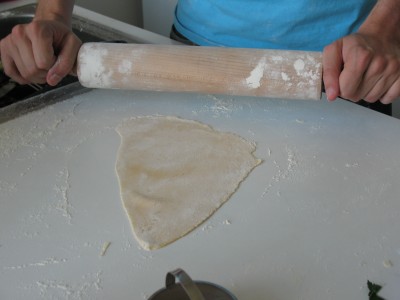
Rolling many, many times. The recipe calls for dough that is about 1⁄16” thick. I actually made the dough a little too thin, but the point is that you need to pay close attention to this measurement, use a ruler, and be willing to continue until you get to the required thickness.
Stopping frequently and pivoting the dough sheet between each roll. More gluten forms as you roll the dough out. After all, you’re putting lots of pressure on it and treating the flour molecules pretty roughly so they have lots of opportunities to link up into a elastic net. By frequently stopping, you give the molecules a chance to relax and un-elasticize. Also, my guess is that gluten molecules tend to form along the direction that you’re rolling the dough - that is, most of them will be aligned with the direction in which you are applying force. By rotating the dough on your rolling board, you don’t encounter as much resistance from the gluten you just created, and the resting is more effective.
As I say, the recipe wasn’t that amazing, but knowing how to roll pasta dough is a useful technique. Even if I should probably just invest in a rolling machine. This is like when I started cooking and insisted on whipping all my cream by hand…
