Building a desktop fabricator (3D Printer), Day 3
January 3, 2011


_
Note 1: This entry is the third in a series.
Note 2: I am looking for likeminded people who want to work together on building some kind of desktop fabricator business. If you read this and agree with what I have to say, will you drop me a note? For more about me, check out my LinkedIn profile.
_
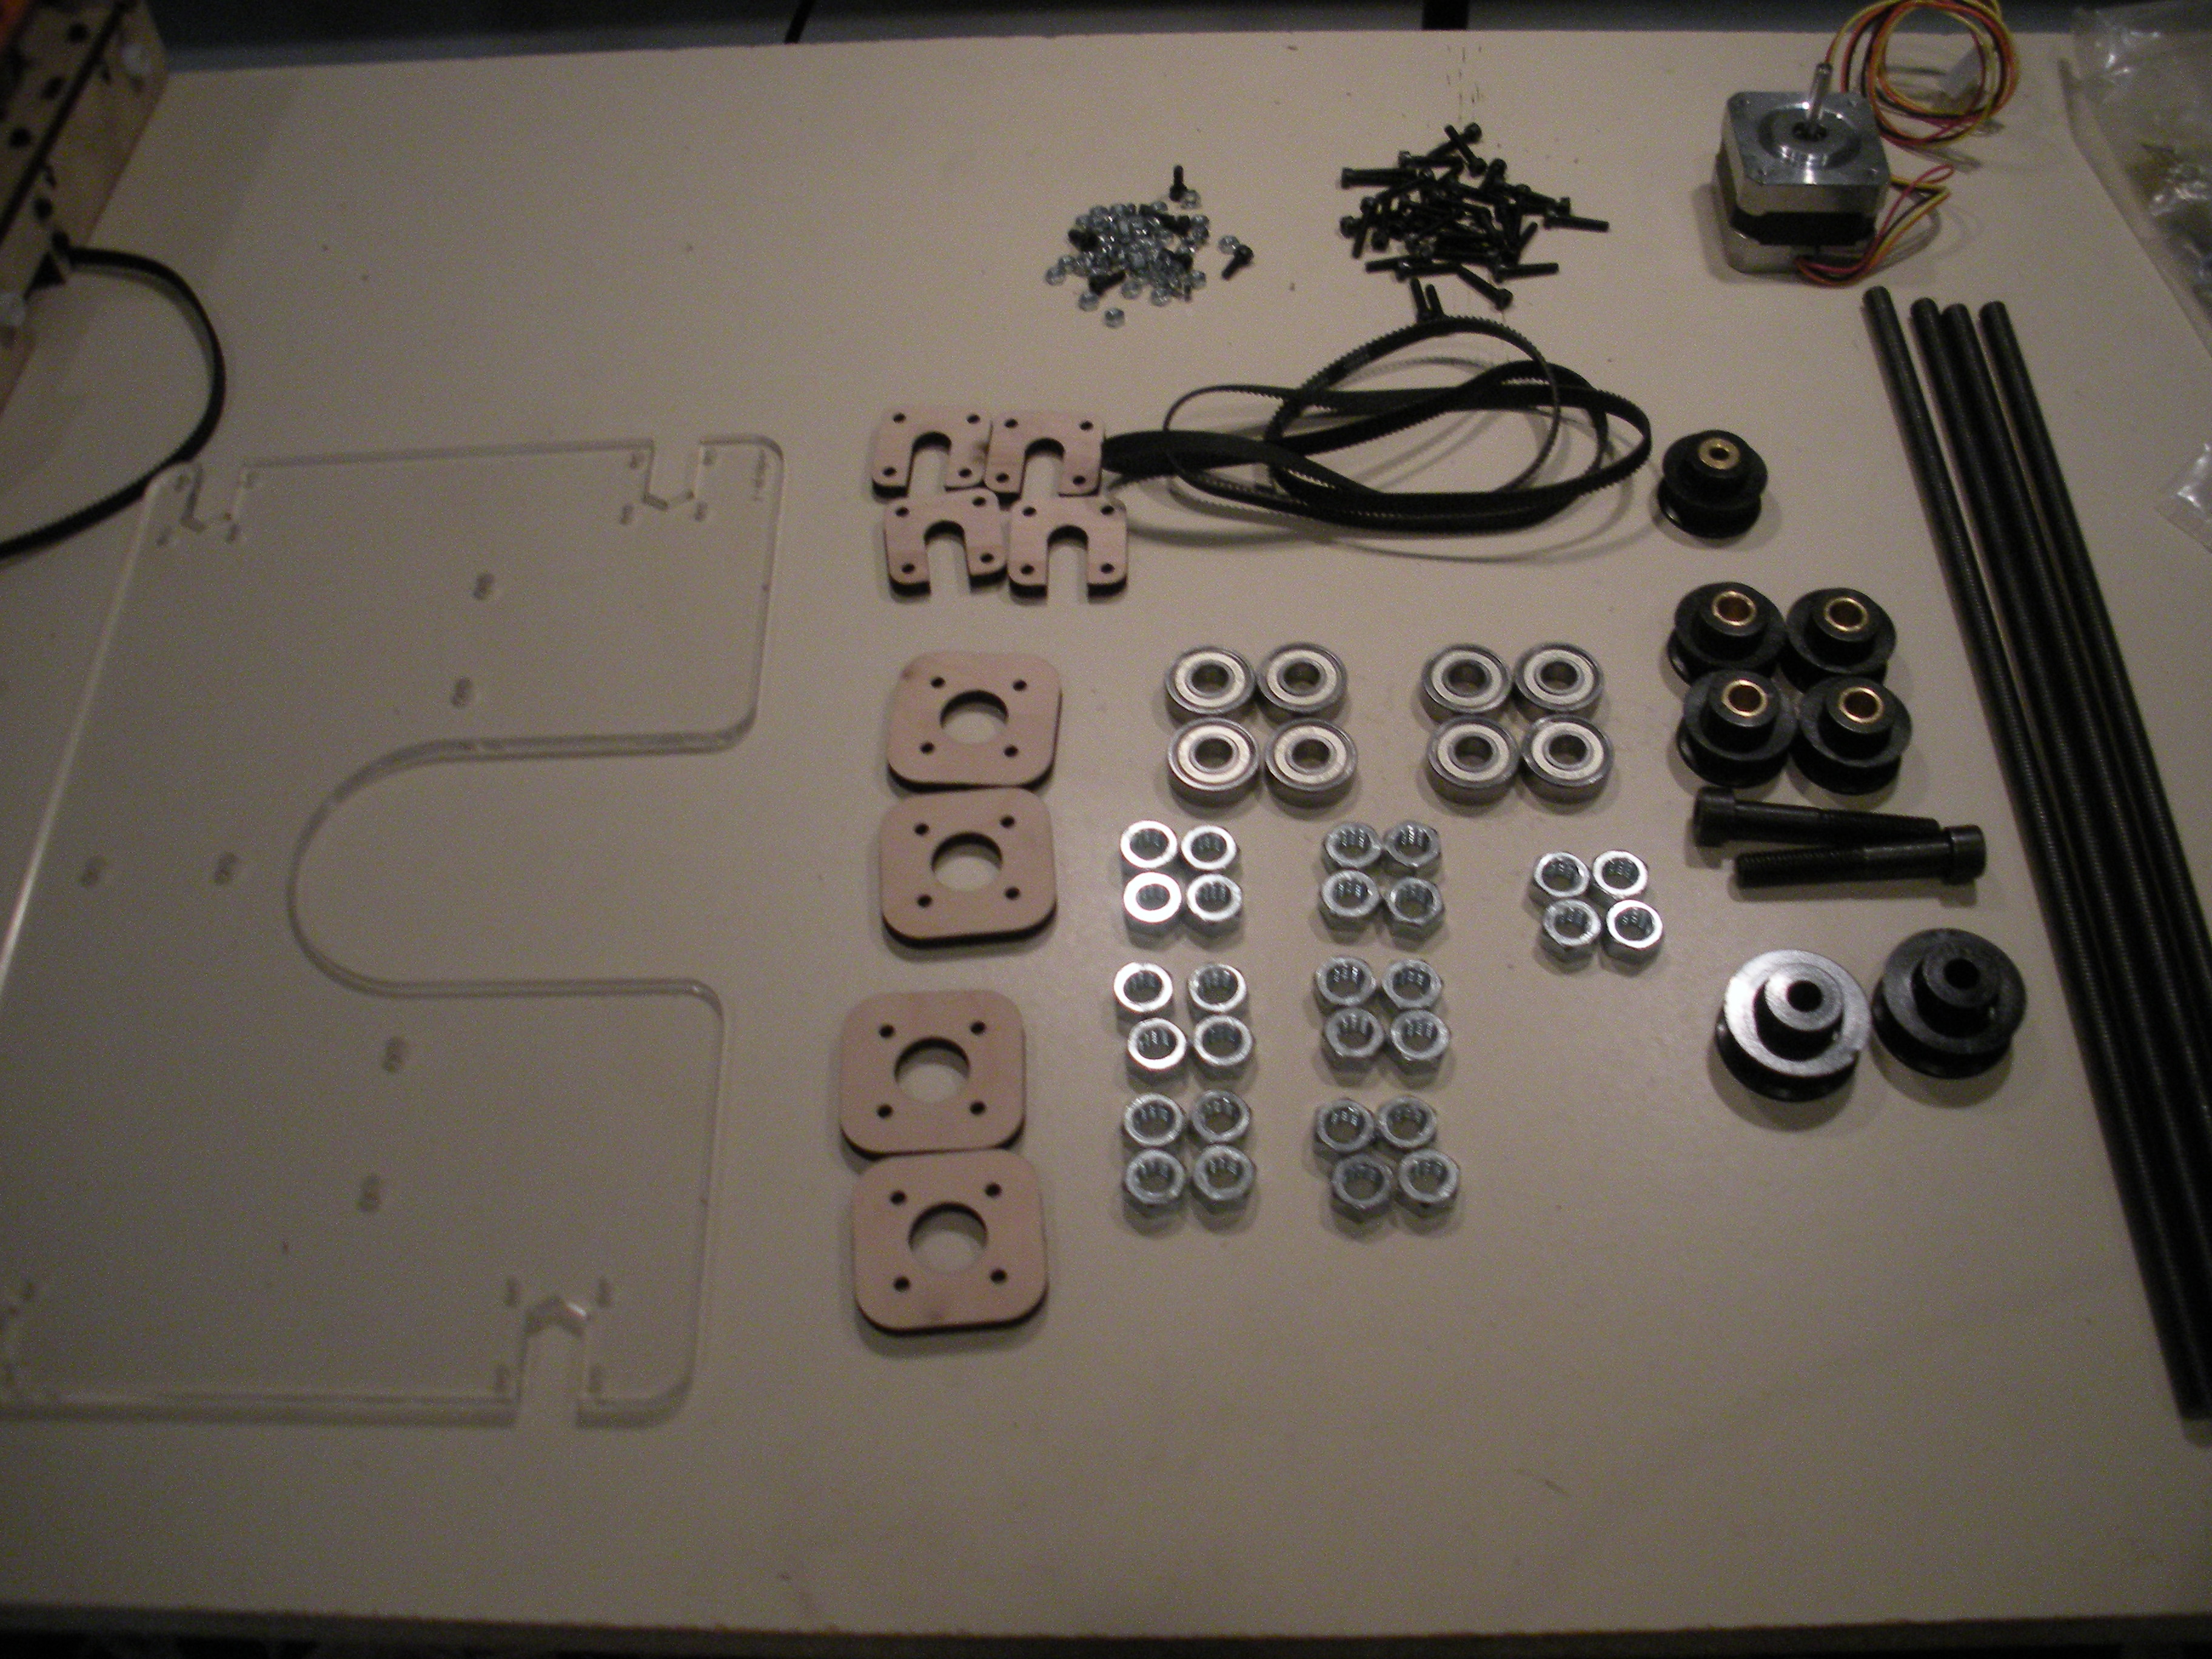
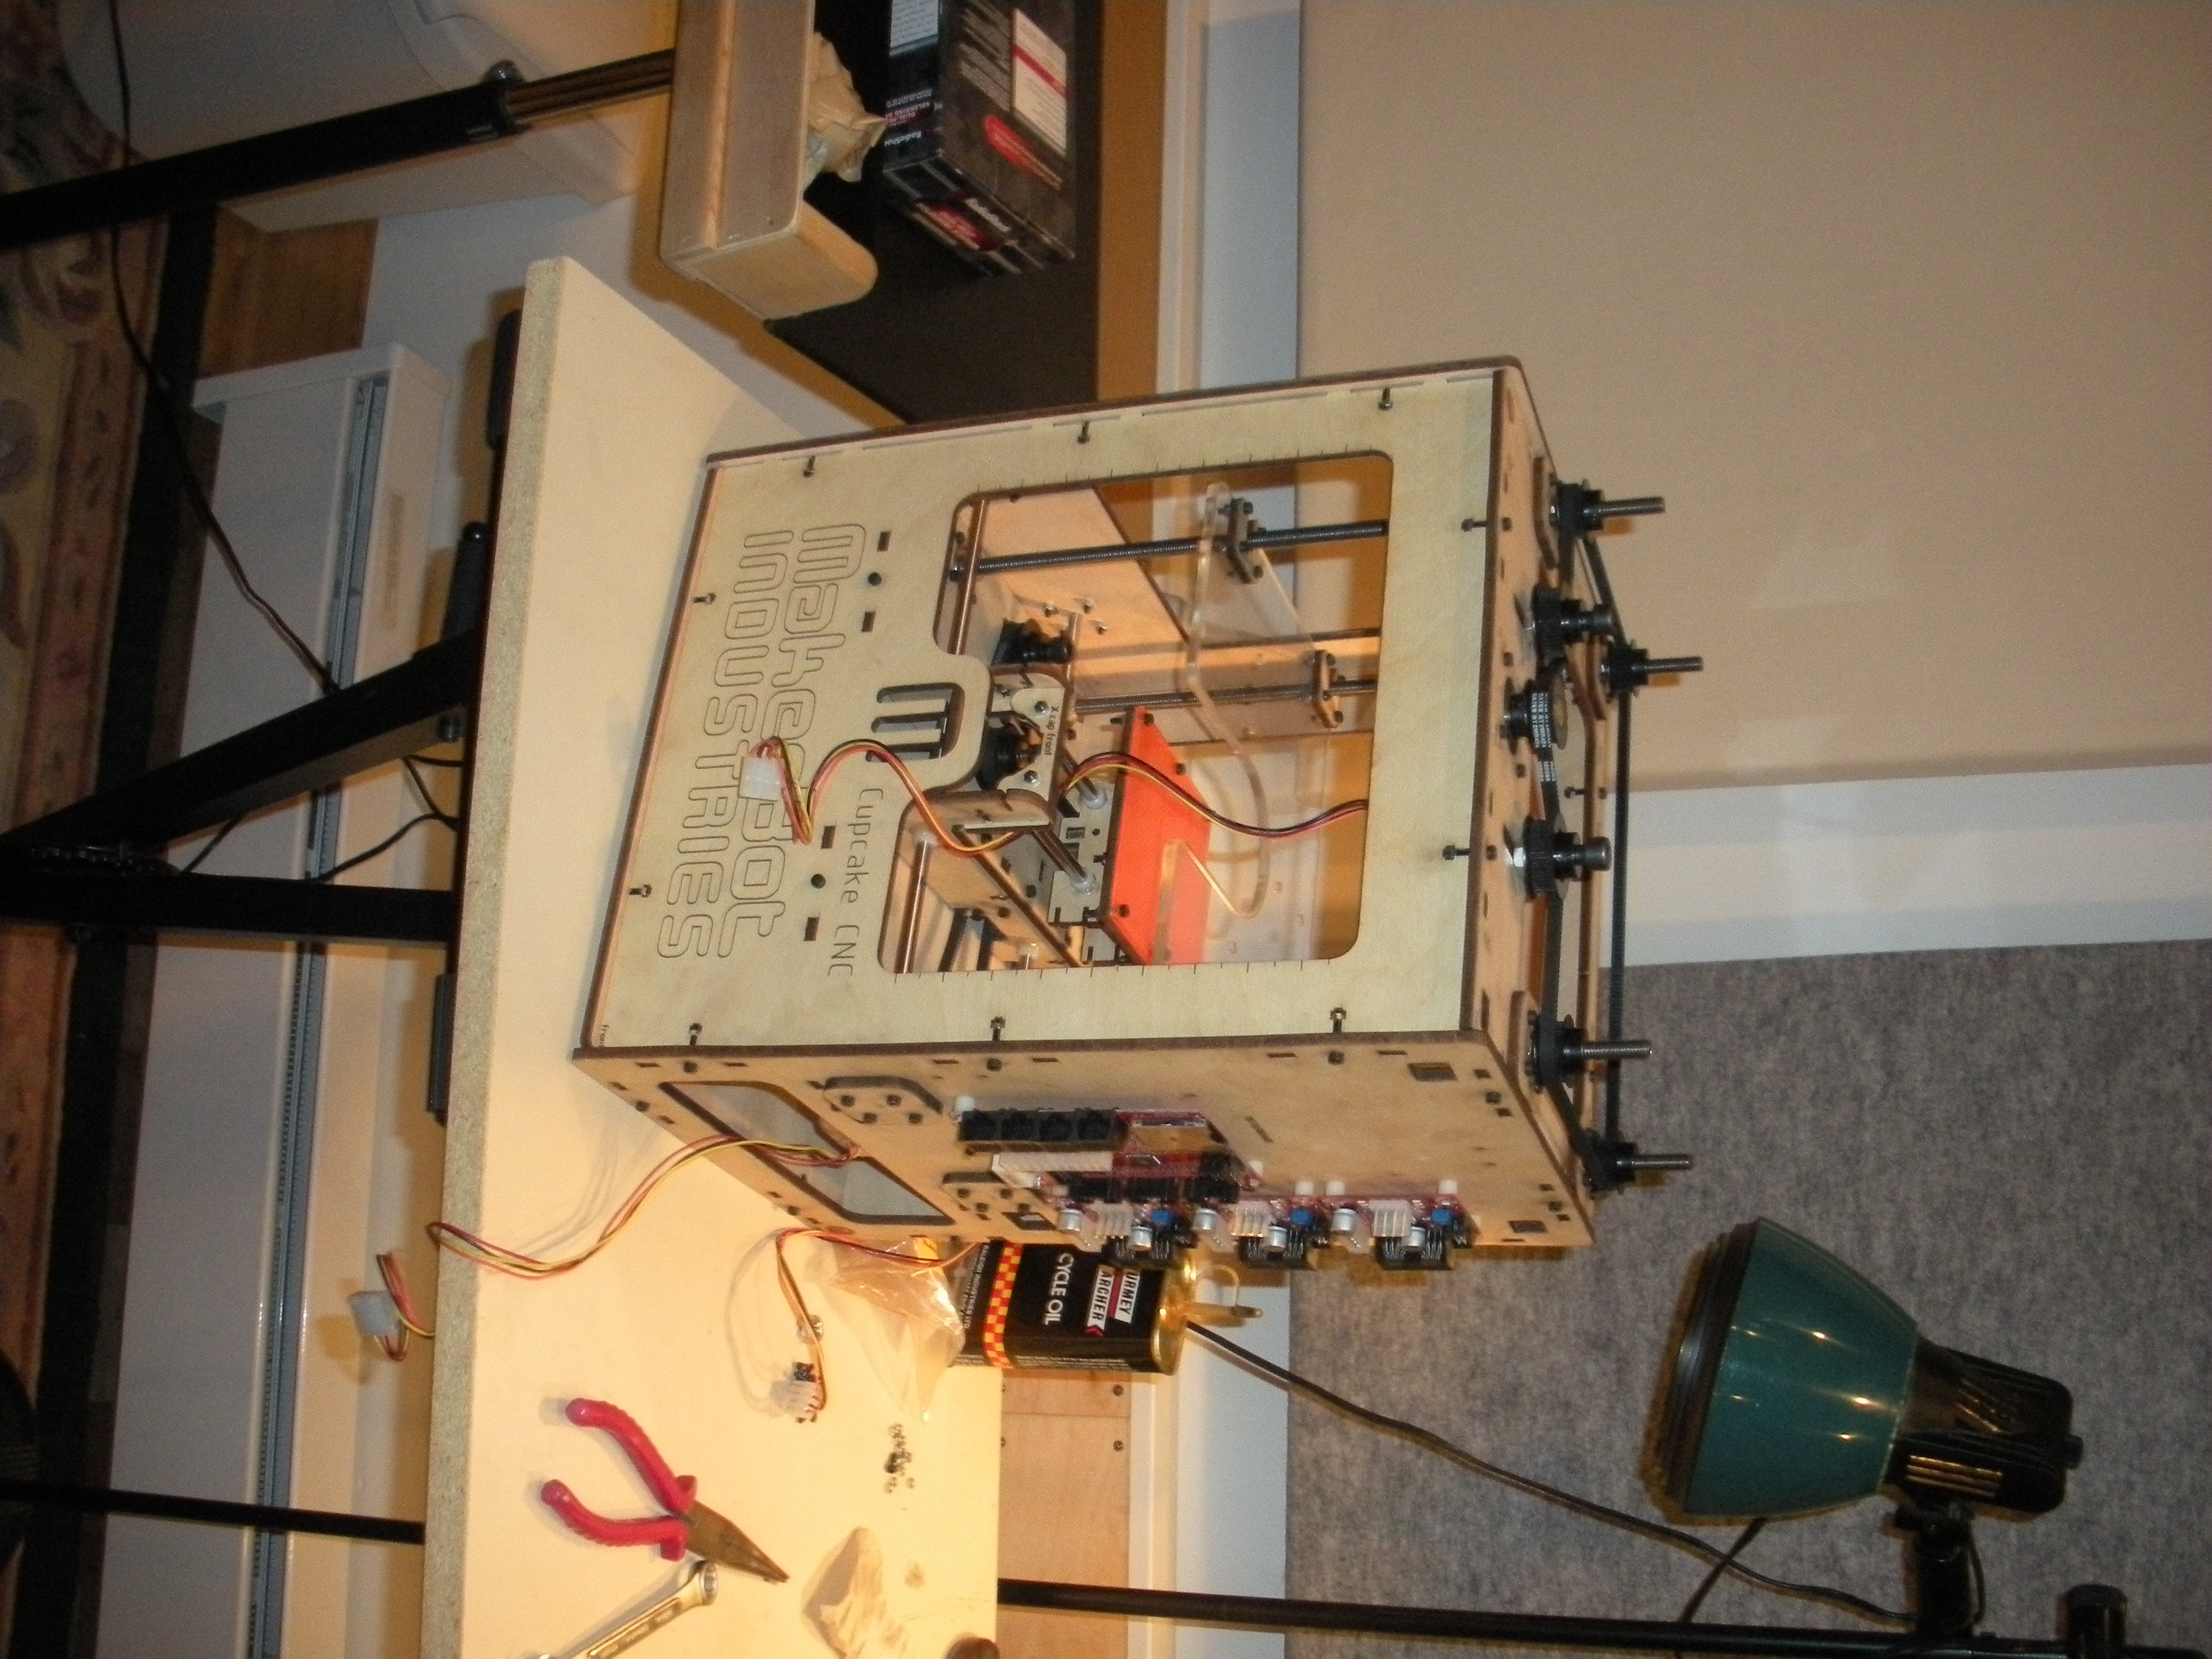
Today I tackled 3 separate stages of the Makerbot build sequence: The Z Stage Assembly, the XY Stage Installation, and the Z Stage Installation. The end result is an (almost) mechanically complete desktop fabricator.
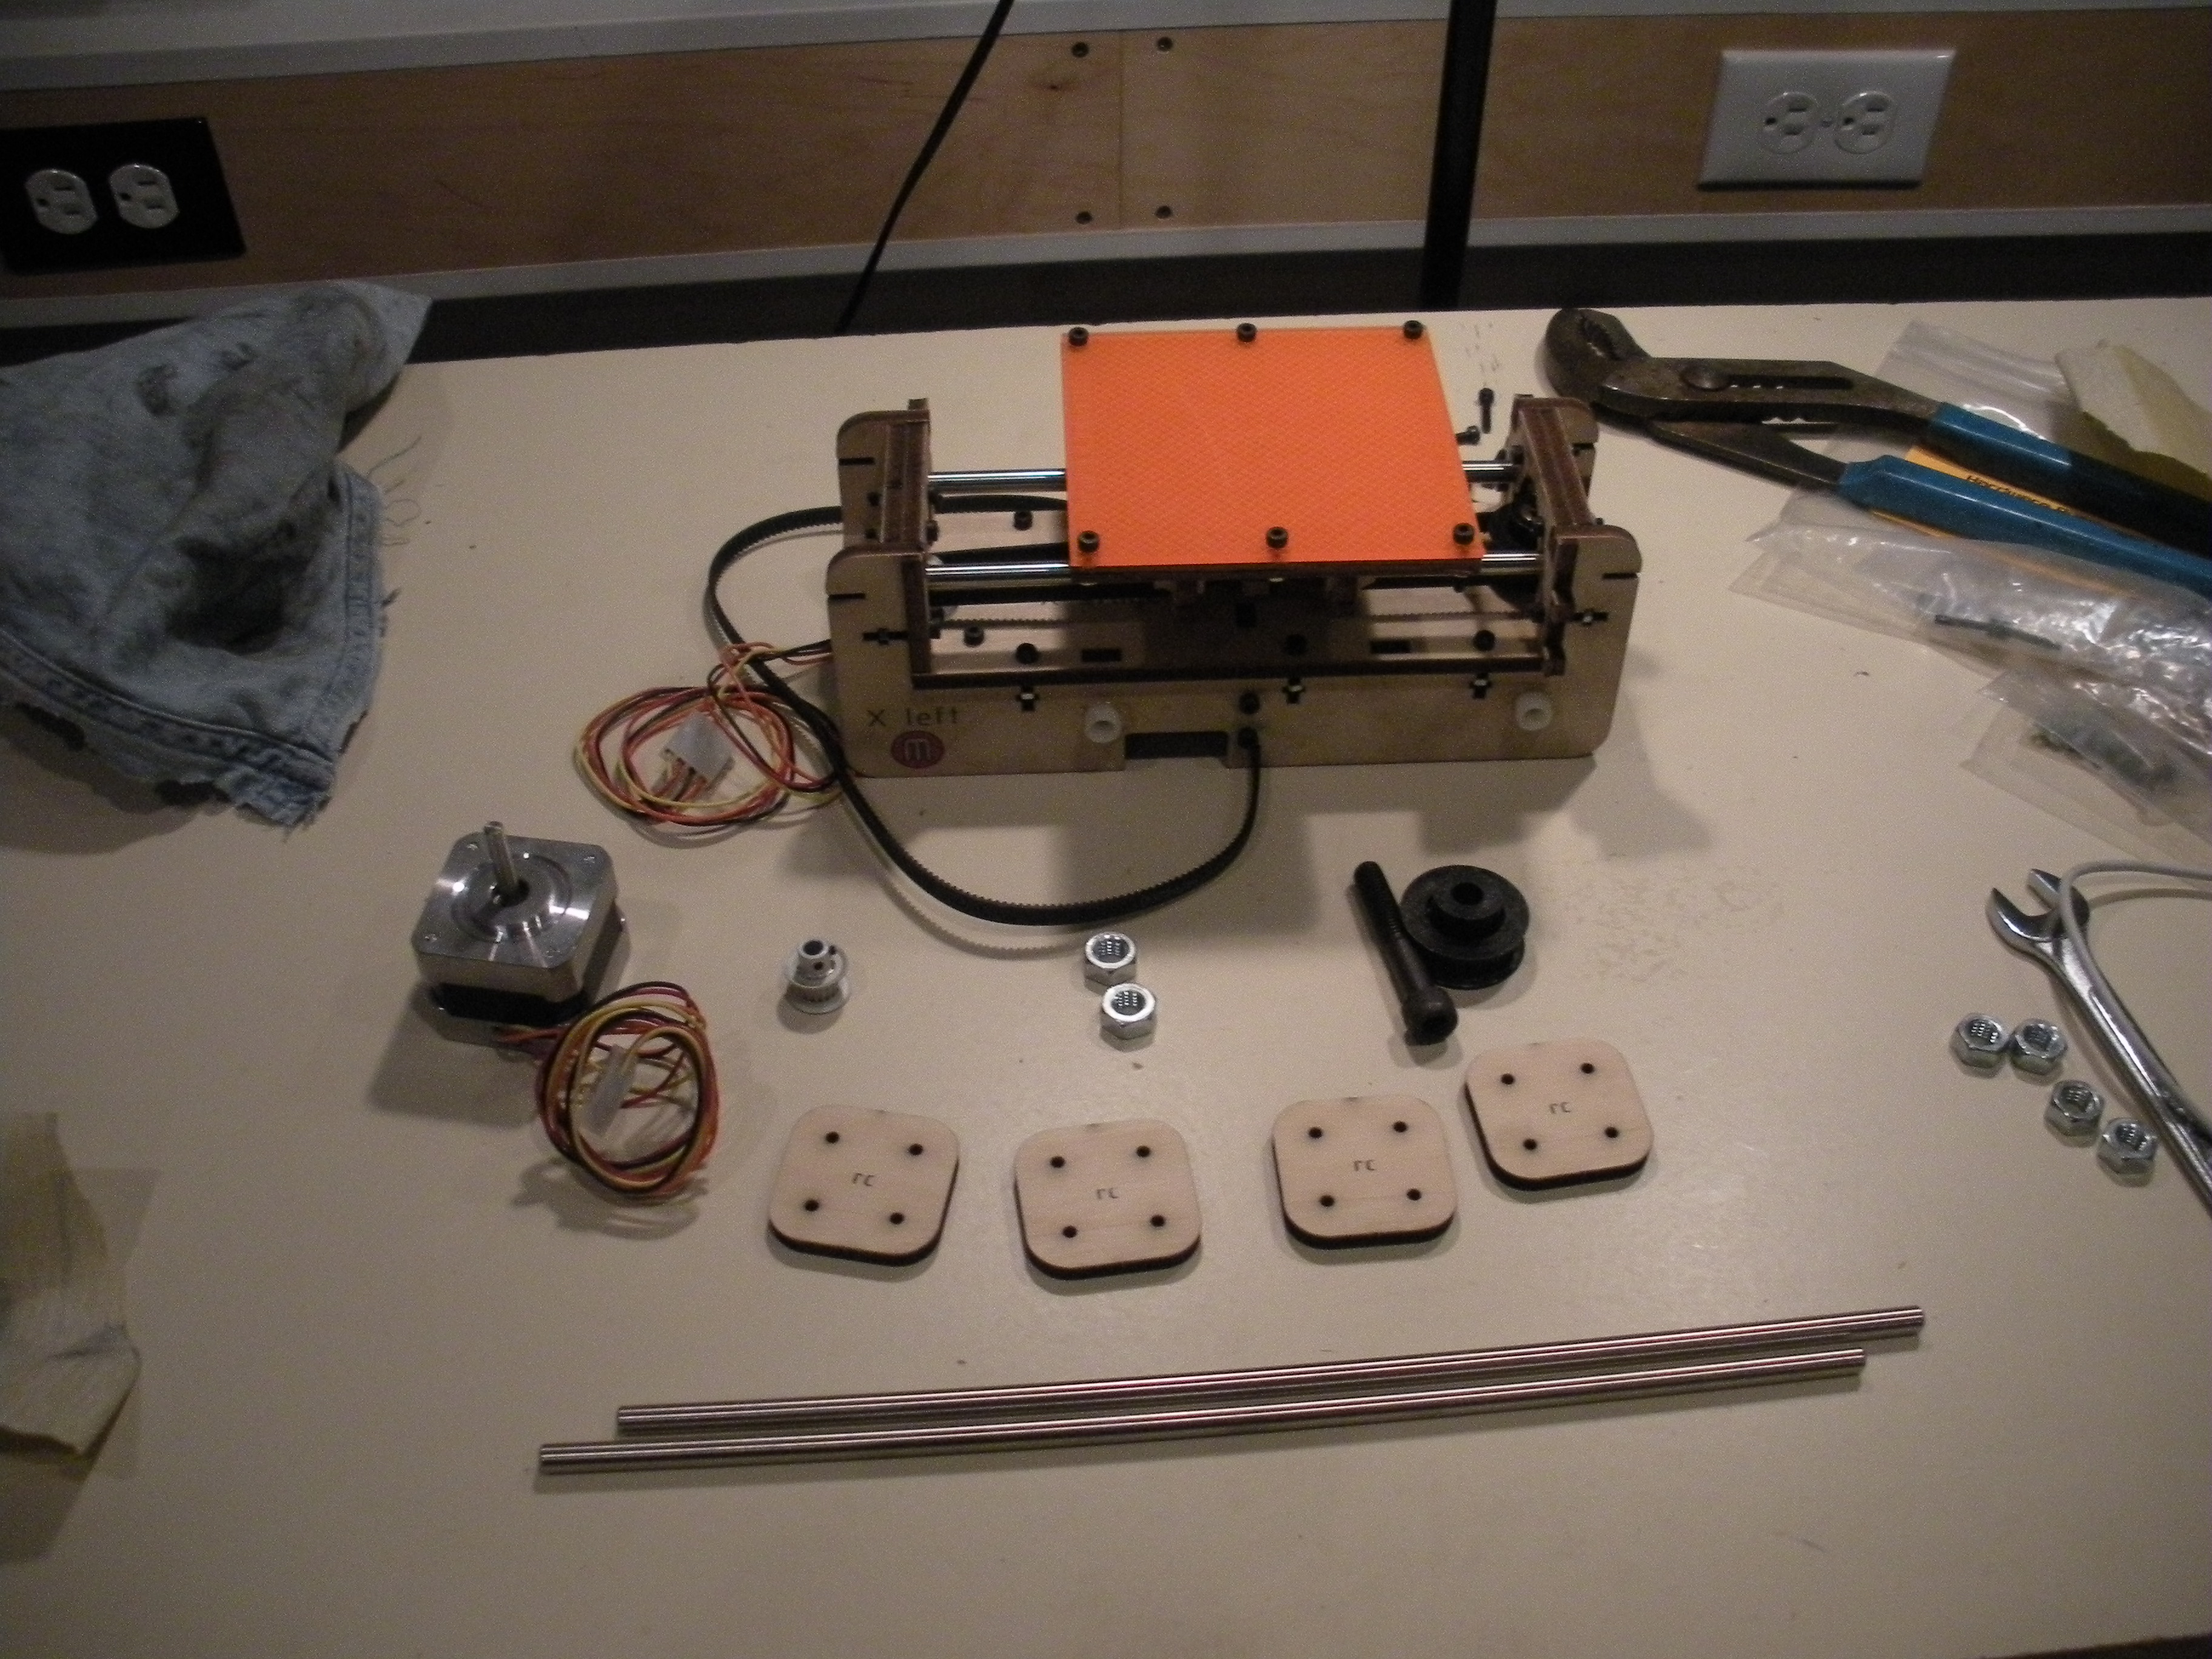
First, let me explain briefly what each of these stages means. The Z Stage is the part of the machine that controls the movement of the extruder up and down. So today I basically built and then installed the parts of the machine that enable that to happen. The X and Y Stages are the parts of the machine that allow moving the extruder (actually the build platform) left and right and back and forth. I built these parts yesterday, and installed them today.
The way that the Makerbot extruder moves up and down is actually pretty ingenious. (Much of the machine is, but this was a particularly interesting piece). Basically, there is a platform on which the extruder will sit. The goal is to get it to move up and down, for reasons similar to the reasons why you lift a pen from the paper when you’re done writing.
The way you do this with a Makerbot, is that a very long bolt runs through each corner of the platform. Bearings and nuts are put onto the bolts also, in such a way that you essentially move the platform by screwing and unscrewing the bolt. So think of the way the head of a screw goes down when you drill it into wood. The Z-stage motion of the Makerbot takes advantage of this principle, with the result that you end up with an easy-to-build and elegant mechanism for this motion.
Anyway, other than that finishing up the mechanics of the Makerbot pretty uneventful - a lot of the same old nuts and bolts (literally) that I’ve been doing for the past two days. One minor problem was that the tolerance between the pulleys and the shafts of the motors is way too tight, which means that you have to do a fair amount of sanding to get everything to fit together. The worst part about this is when you put one of the pulleys on a driveshaft to test the fit, and then it won’t go into position, but you can’t remove it anymore, either.
However, we then move on to hooking up the electronics and software. This is an area where I had significantly more trouble, and I was actually surprised at how much the quality of the documentation seemed to rather suddenly deteriorate. “Now you’ll just need to hook up the electronics and Plastruder”, indeed!
My major issue was with the instructions for assembling ribbon cables. Makerbot doesn’t provide any of their own, though they do point you to the instructions that come along with the RepRap, which is the design on which the Makerbot is based. The main problem is that these are somewhat difficult to follow - it was hard to get a good sense from the pictures of what goes where, how everything should be aligned, and how much force should be used.
The most annoying part about this was that preassembled ribbon cables aren’t that expensive - does it really make sense to build these from scratch? (This must be a fundamental decision that has to be made with all the parts Makerbot provides, and it’s one I recognize from lots of other projects - build or buy, or this case, supply parts or supply part?). Anyway, it seemed like there wasn’t as much support on this step for people who don’t already know their way around this stuff.
After hooking that up, I went on to check out the instructions for building the plastic extruder. For some reason, I thought these would be relatively easy to complete. They… are not. I think it will go OK, but this is the first time I’ve felt somewhat intimidated by this project.