Building a desktop fabricator (3D Printer), Day 1
January 1, 2011


Note 1: This entry is the first in a series.
Note 2: I am looking for likeminded people who want to work together on building some kind of desktop fabricator business. If you read this and agree with what I have to say, will you drop me a note? For more about me, check out my LinkedIn profile.
__ Today (12/31/10), I began building a Makerbot, which is a special type of machine called a desktop fabricator. A desktop fabricator allows you to print. But you can print objects instead of documents. Remember the replicator, from Star Trek? This the first step toward that technology. I’ll document the build process on this blog.
What do I mean? Let’s say you are looking for a bottle opener - as has happened to me many times. You have a bunch of beers, but you can’t find anything to open them with. If you own a desktop fabricator, you can print a bottle opener. Not a picture of a bottle opener, but a physical bottle opener that lets you open bottles. Or lets say a knob breaks on your over. Print a new one. Or if you want a copy of some tchotchke that someone’s designed. Download the schematic and print one yourself. The technology’s primitive right now, but it’s improving rapidly. And pretty soon 3d scanners will come into their own, and you’ll be able to copy things for real.
So wait, wait. How is this machine able to print things? Well, check out the Makerbot video page for some demonstrations. But the basic premise is that it extrudes ABS plastic, much like honey coming out of a squeeze bottle. This ABS plastic is extruded into layers that make up the object you’re interested in. The layers are pretty thin, so you can create a wide variety of objects.
There are a few limitations, obviously - plastic is the only material you can use right now (with the exception of frosting). The Makerbot is slow; it takes an hour or two to print a complex object, though this is improving rapidly. Lastly, the geometry you can produce is somewhat constrained. For example, you can’t do severe overhangs because the plastic will collapse before it has time to solidify.
But still, I strongly believe that this technology will change people’s lives in ways that we haven’t imagined yet, and this will happen soon, like in the next 5 - 15 years. My favorite way of talking about this is that the desktop fabricator will do to physical objects what the MP3 did to CDs.
Because I believe very strongly in the promise of this technology, I’m hoping to build a business on it at some point. Ideally, I would want to find a way to finance rapid improvements in the Makerbot, for example, a major new version every 6 - 9 months. The machine is an incredible achievement, but there’s lots of work to be done on improving the technology so that it can produce a broader range of usable objects.
Also, I think there could be a lot of work to do on making it easy to build (eventually buy) and use. Right now, you have to use 3 separate pieces of software to create a new printable object. One day, I would like this to be as easy as desktop publishing. I read an article recently that said that at one time, the idea that a home user could produce professional-looking documents on their personal computer was laughable. Today, kids use Microsoft Word, Powerpoint, etc. to create documents that simply wouldn’t have been possible 30 years ago. 20 (10? 5?) years from now, it should be possible for someone to publish an object just as easily.
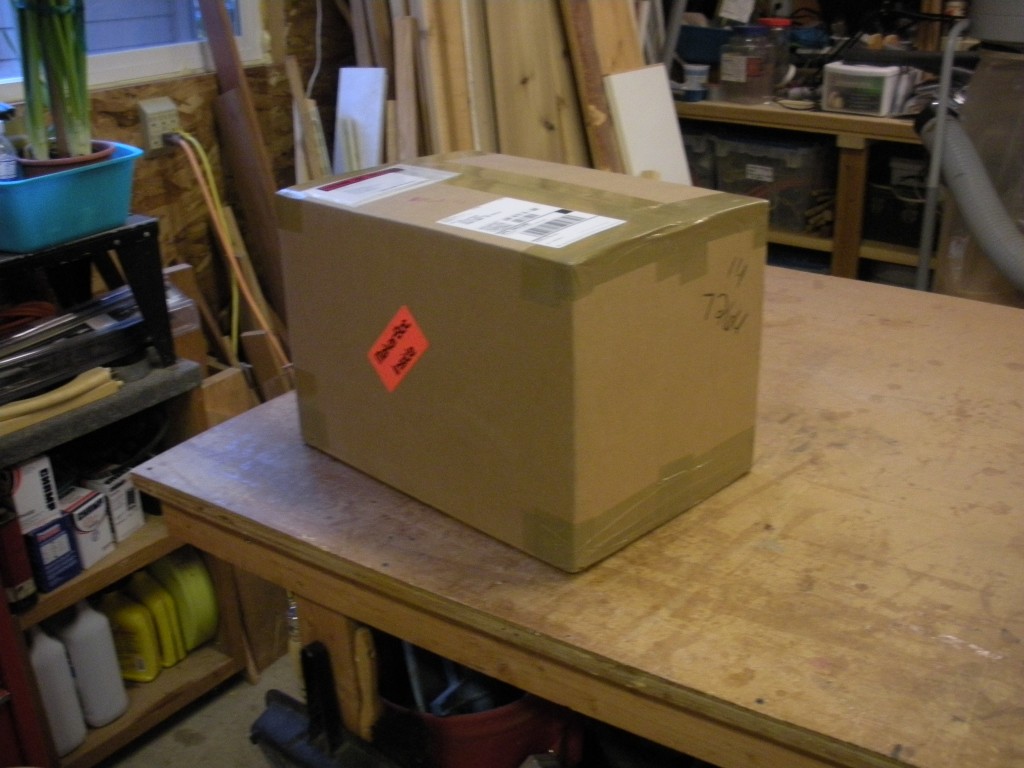
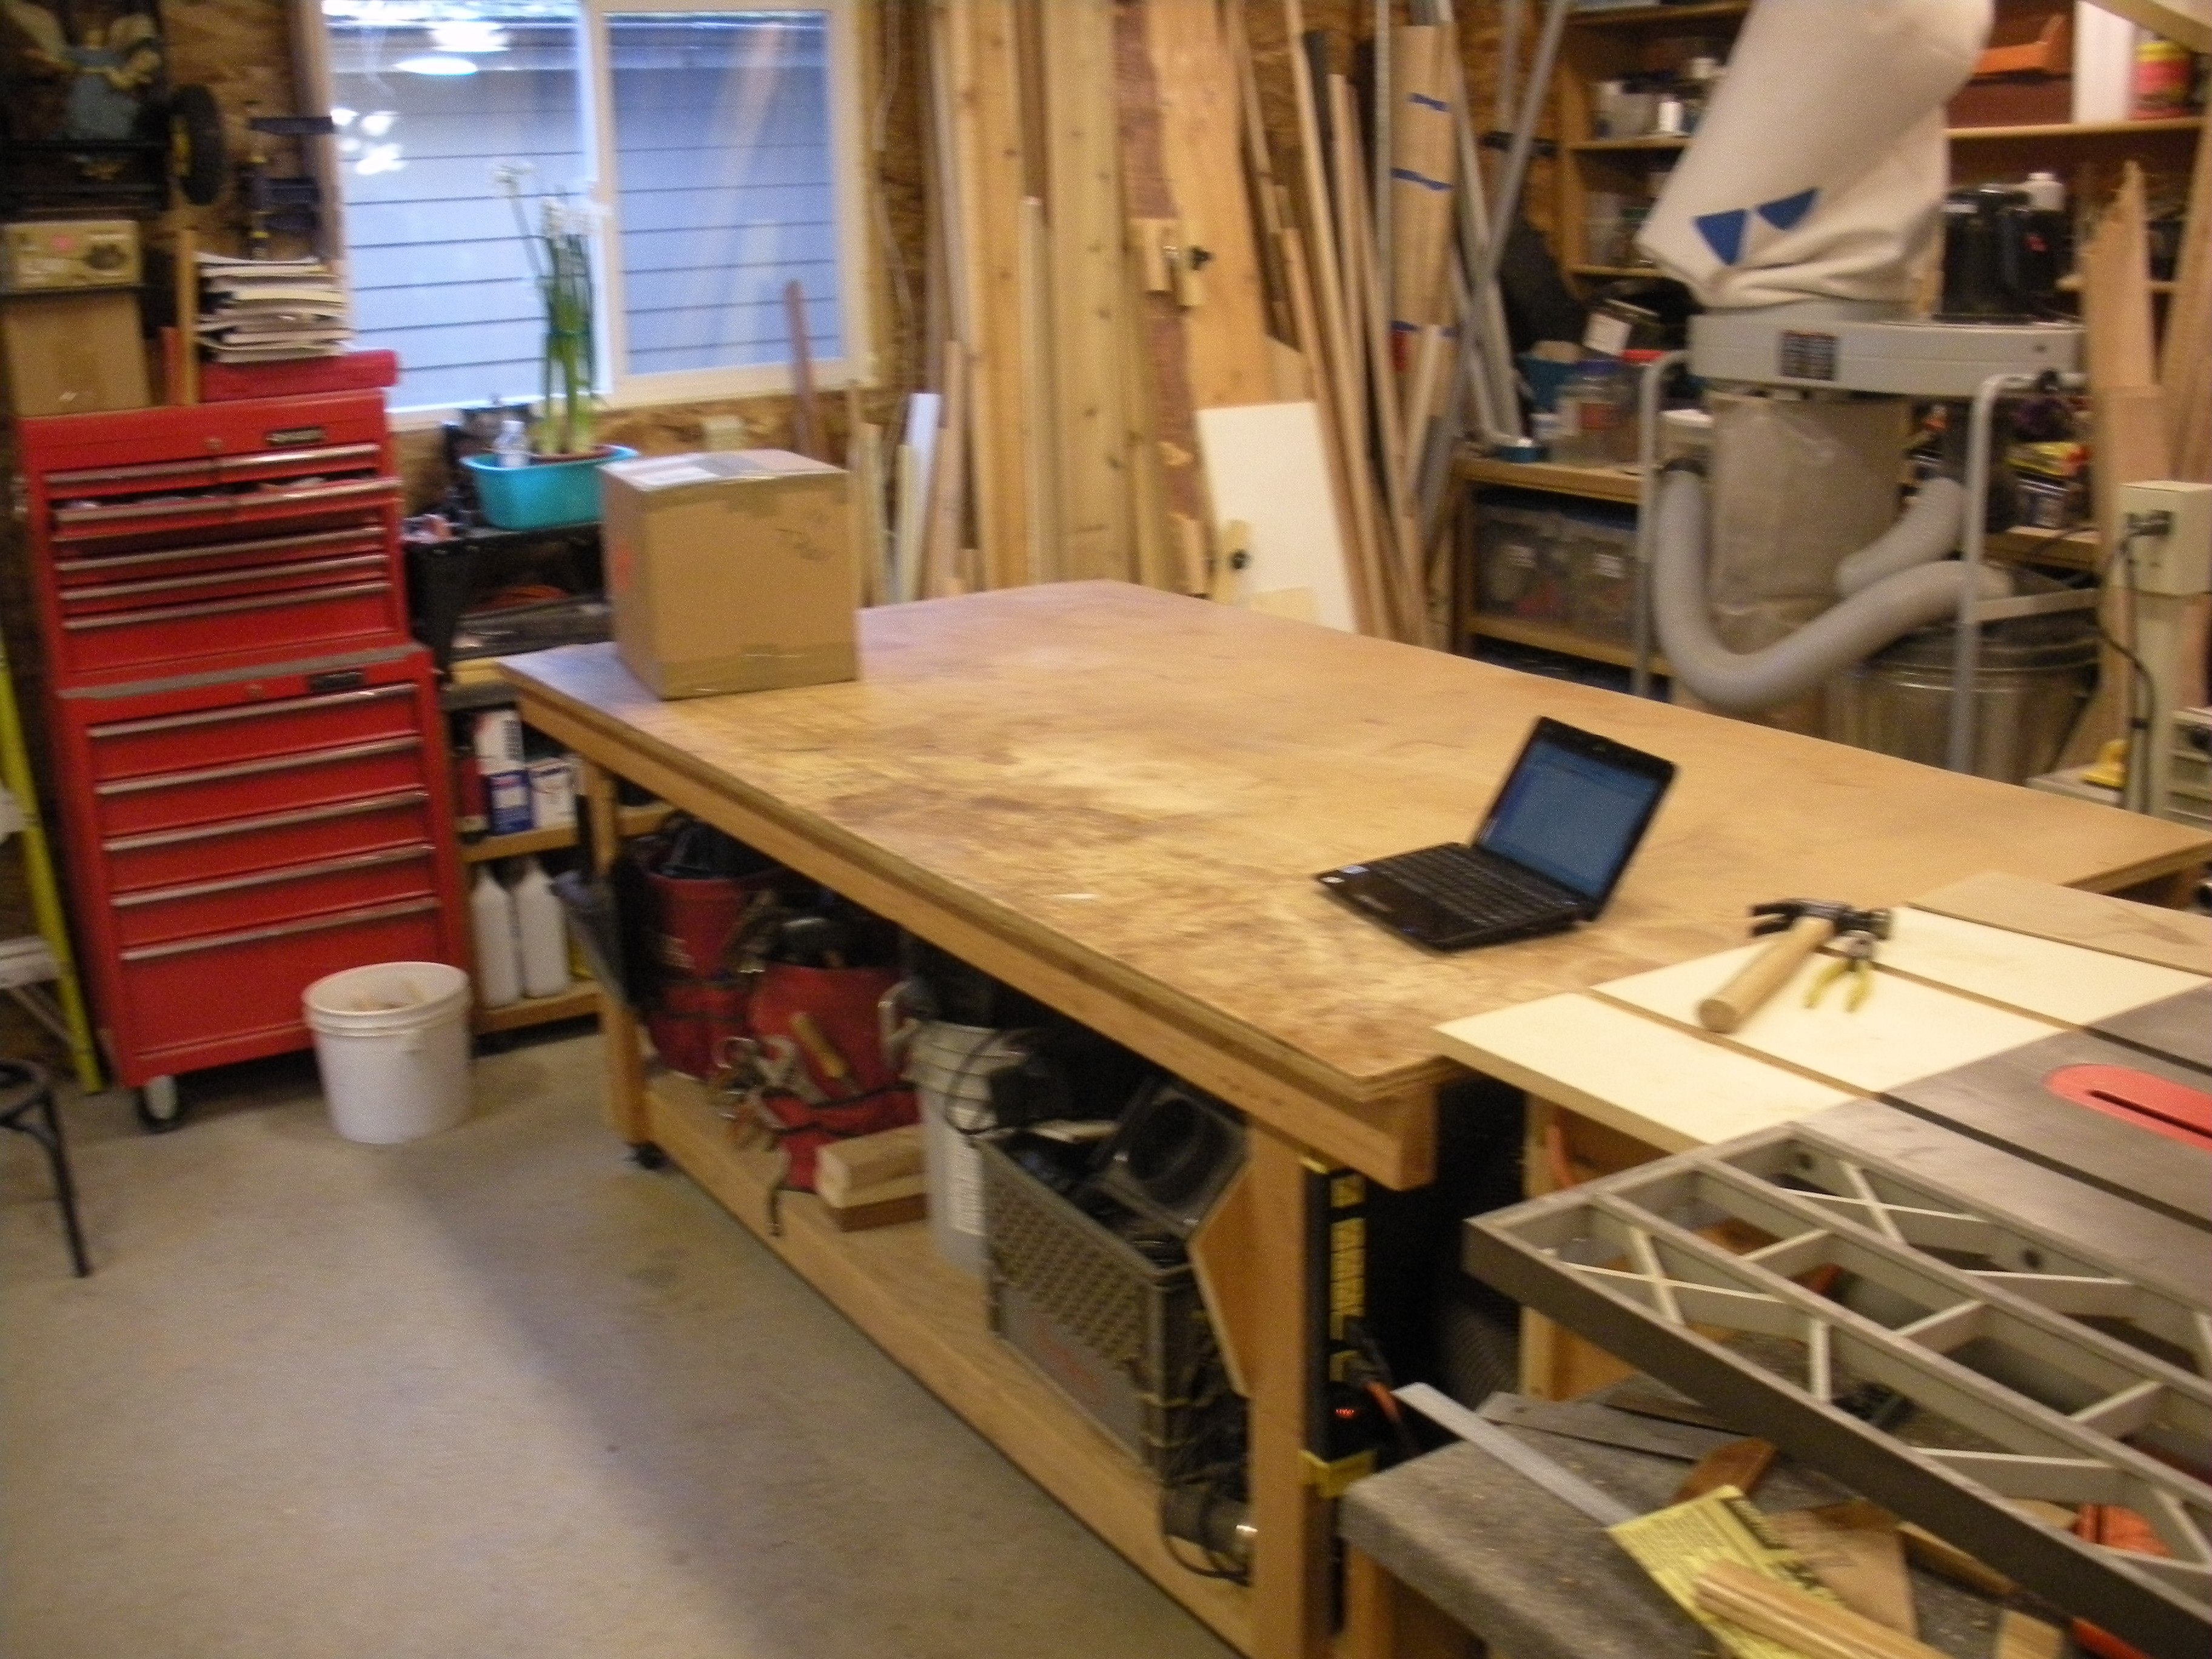
Anyway, in order to better understand how a desktop fabricator works, how easy it is to use, and what can be done with it, I decided to build one. I ordered the Cupcake CNC kit from Makerbot - there are others, but this one seemed like the best buy and easiest to deal with. Over the next week, I hope to complete the kit and print at least 1 or 2 test objects. I will also document the build process on this blog.
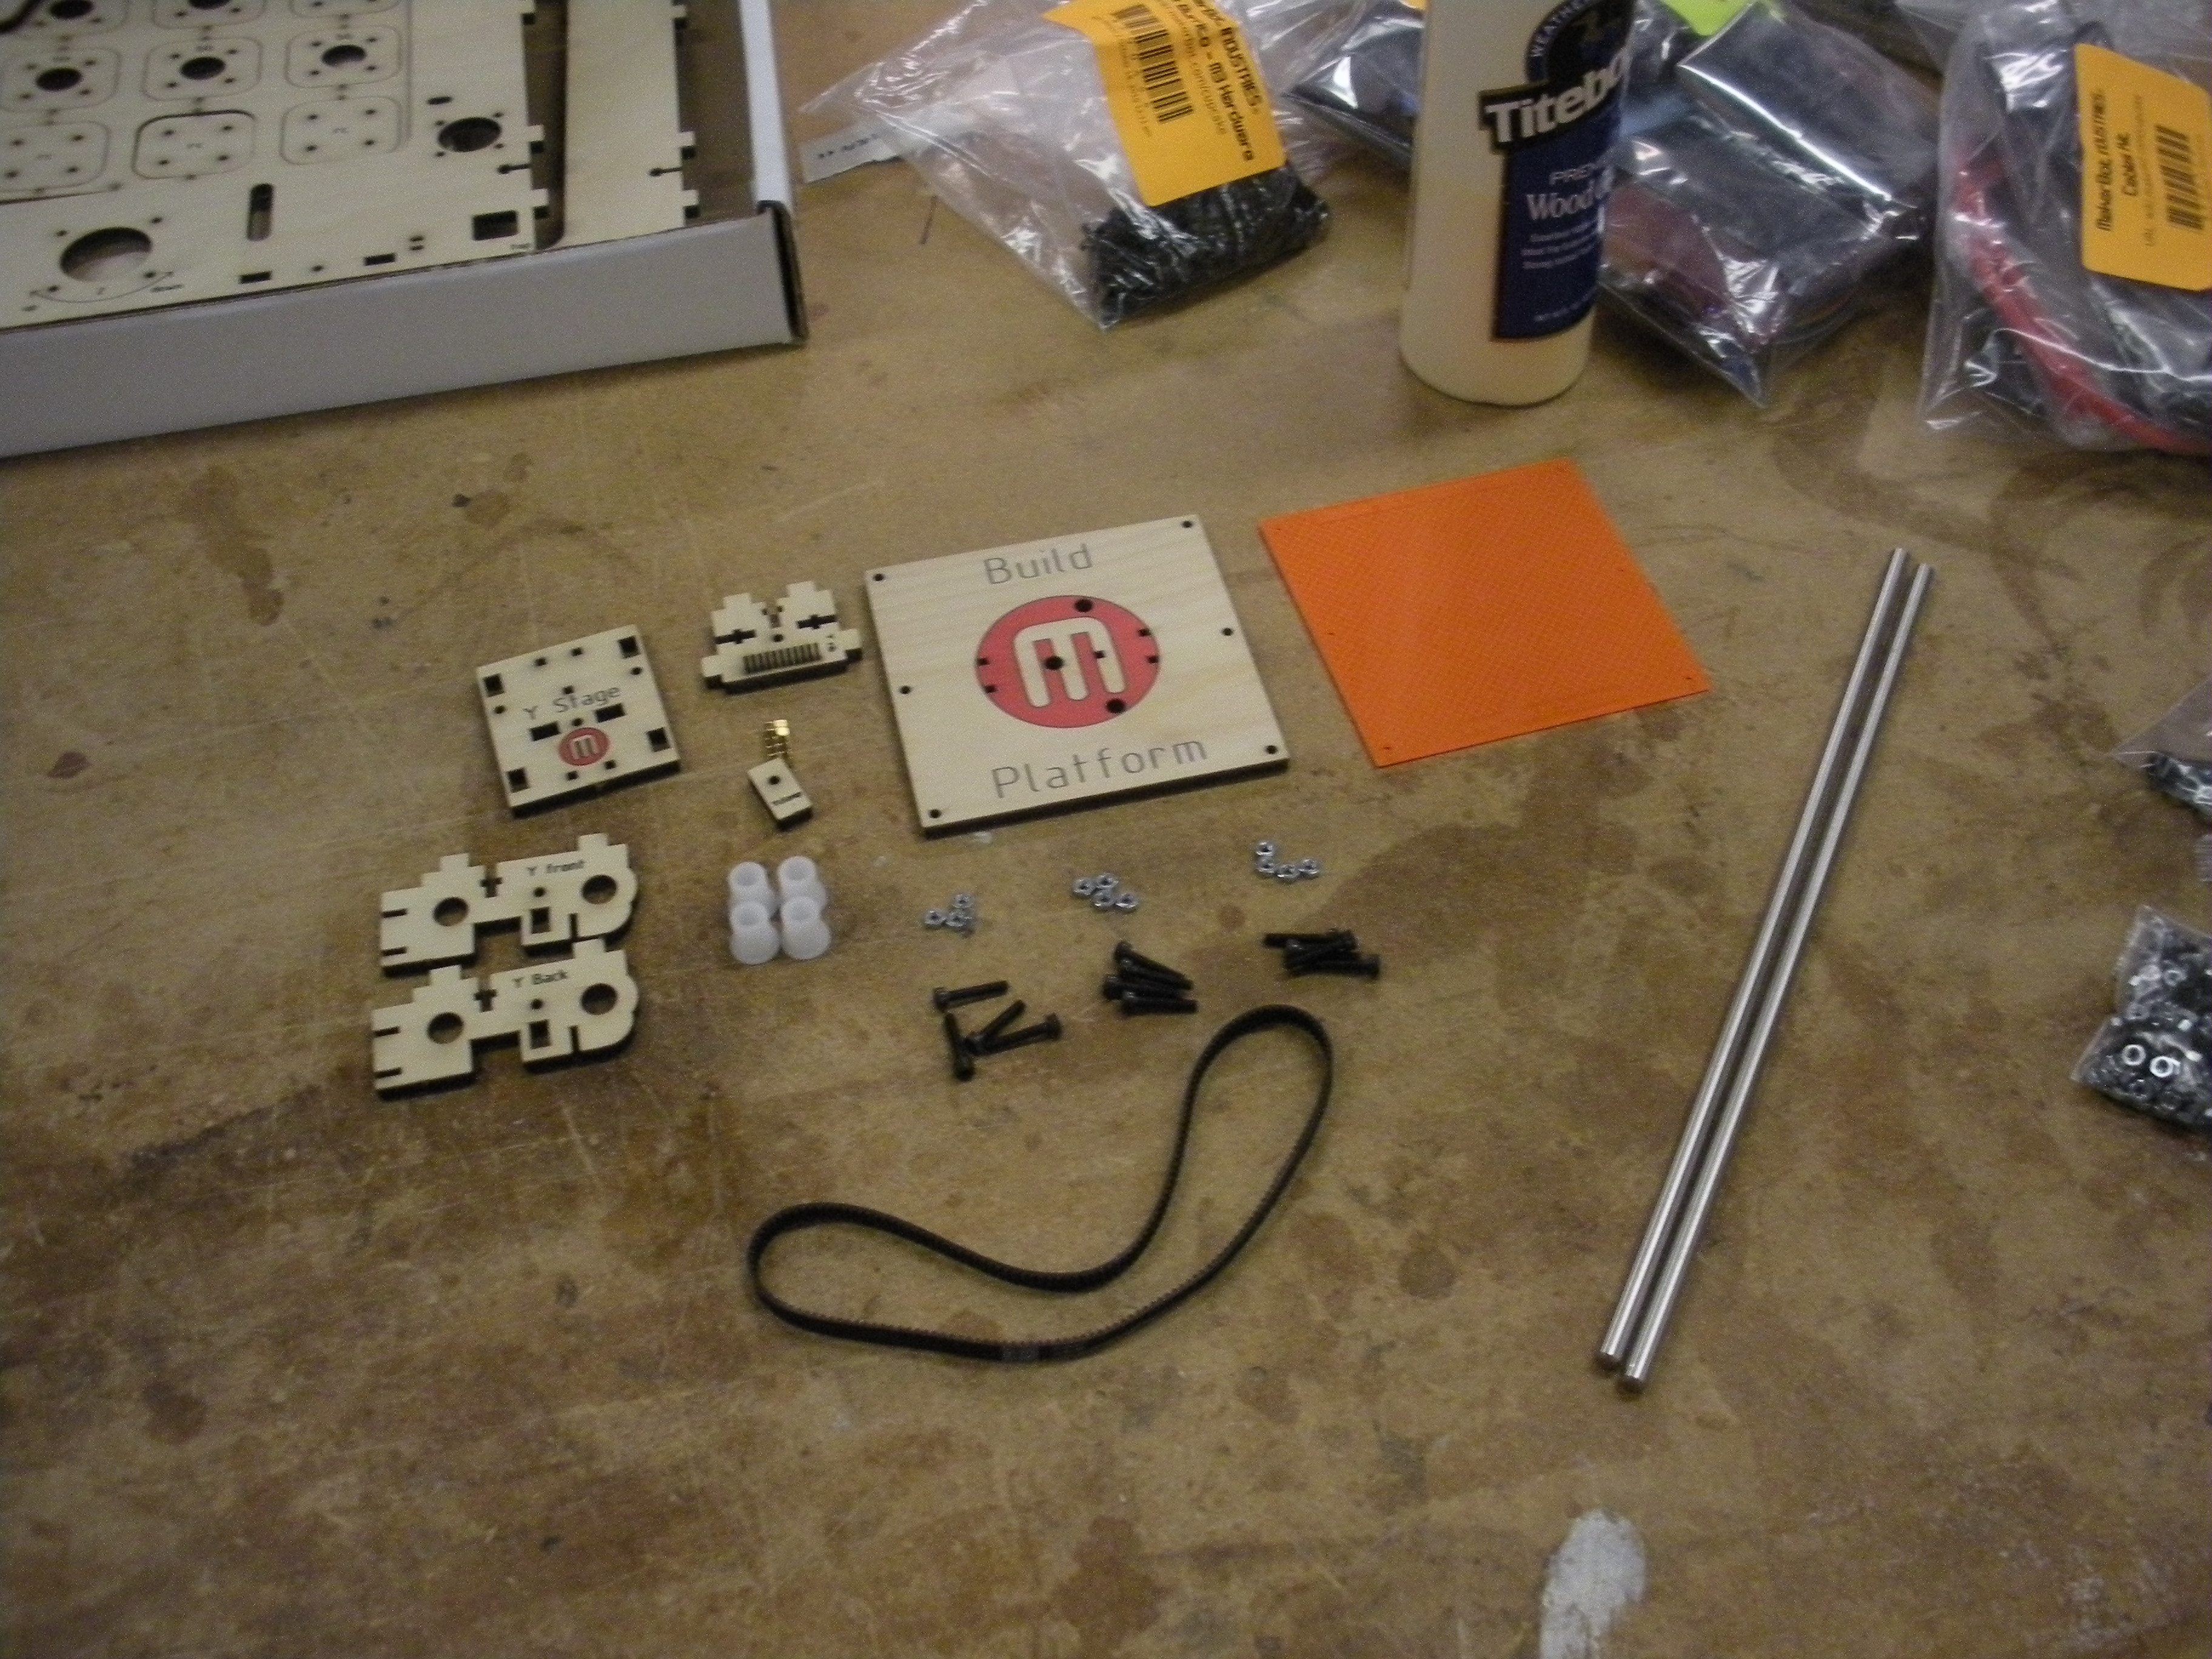
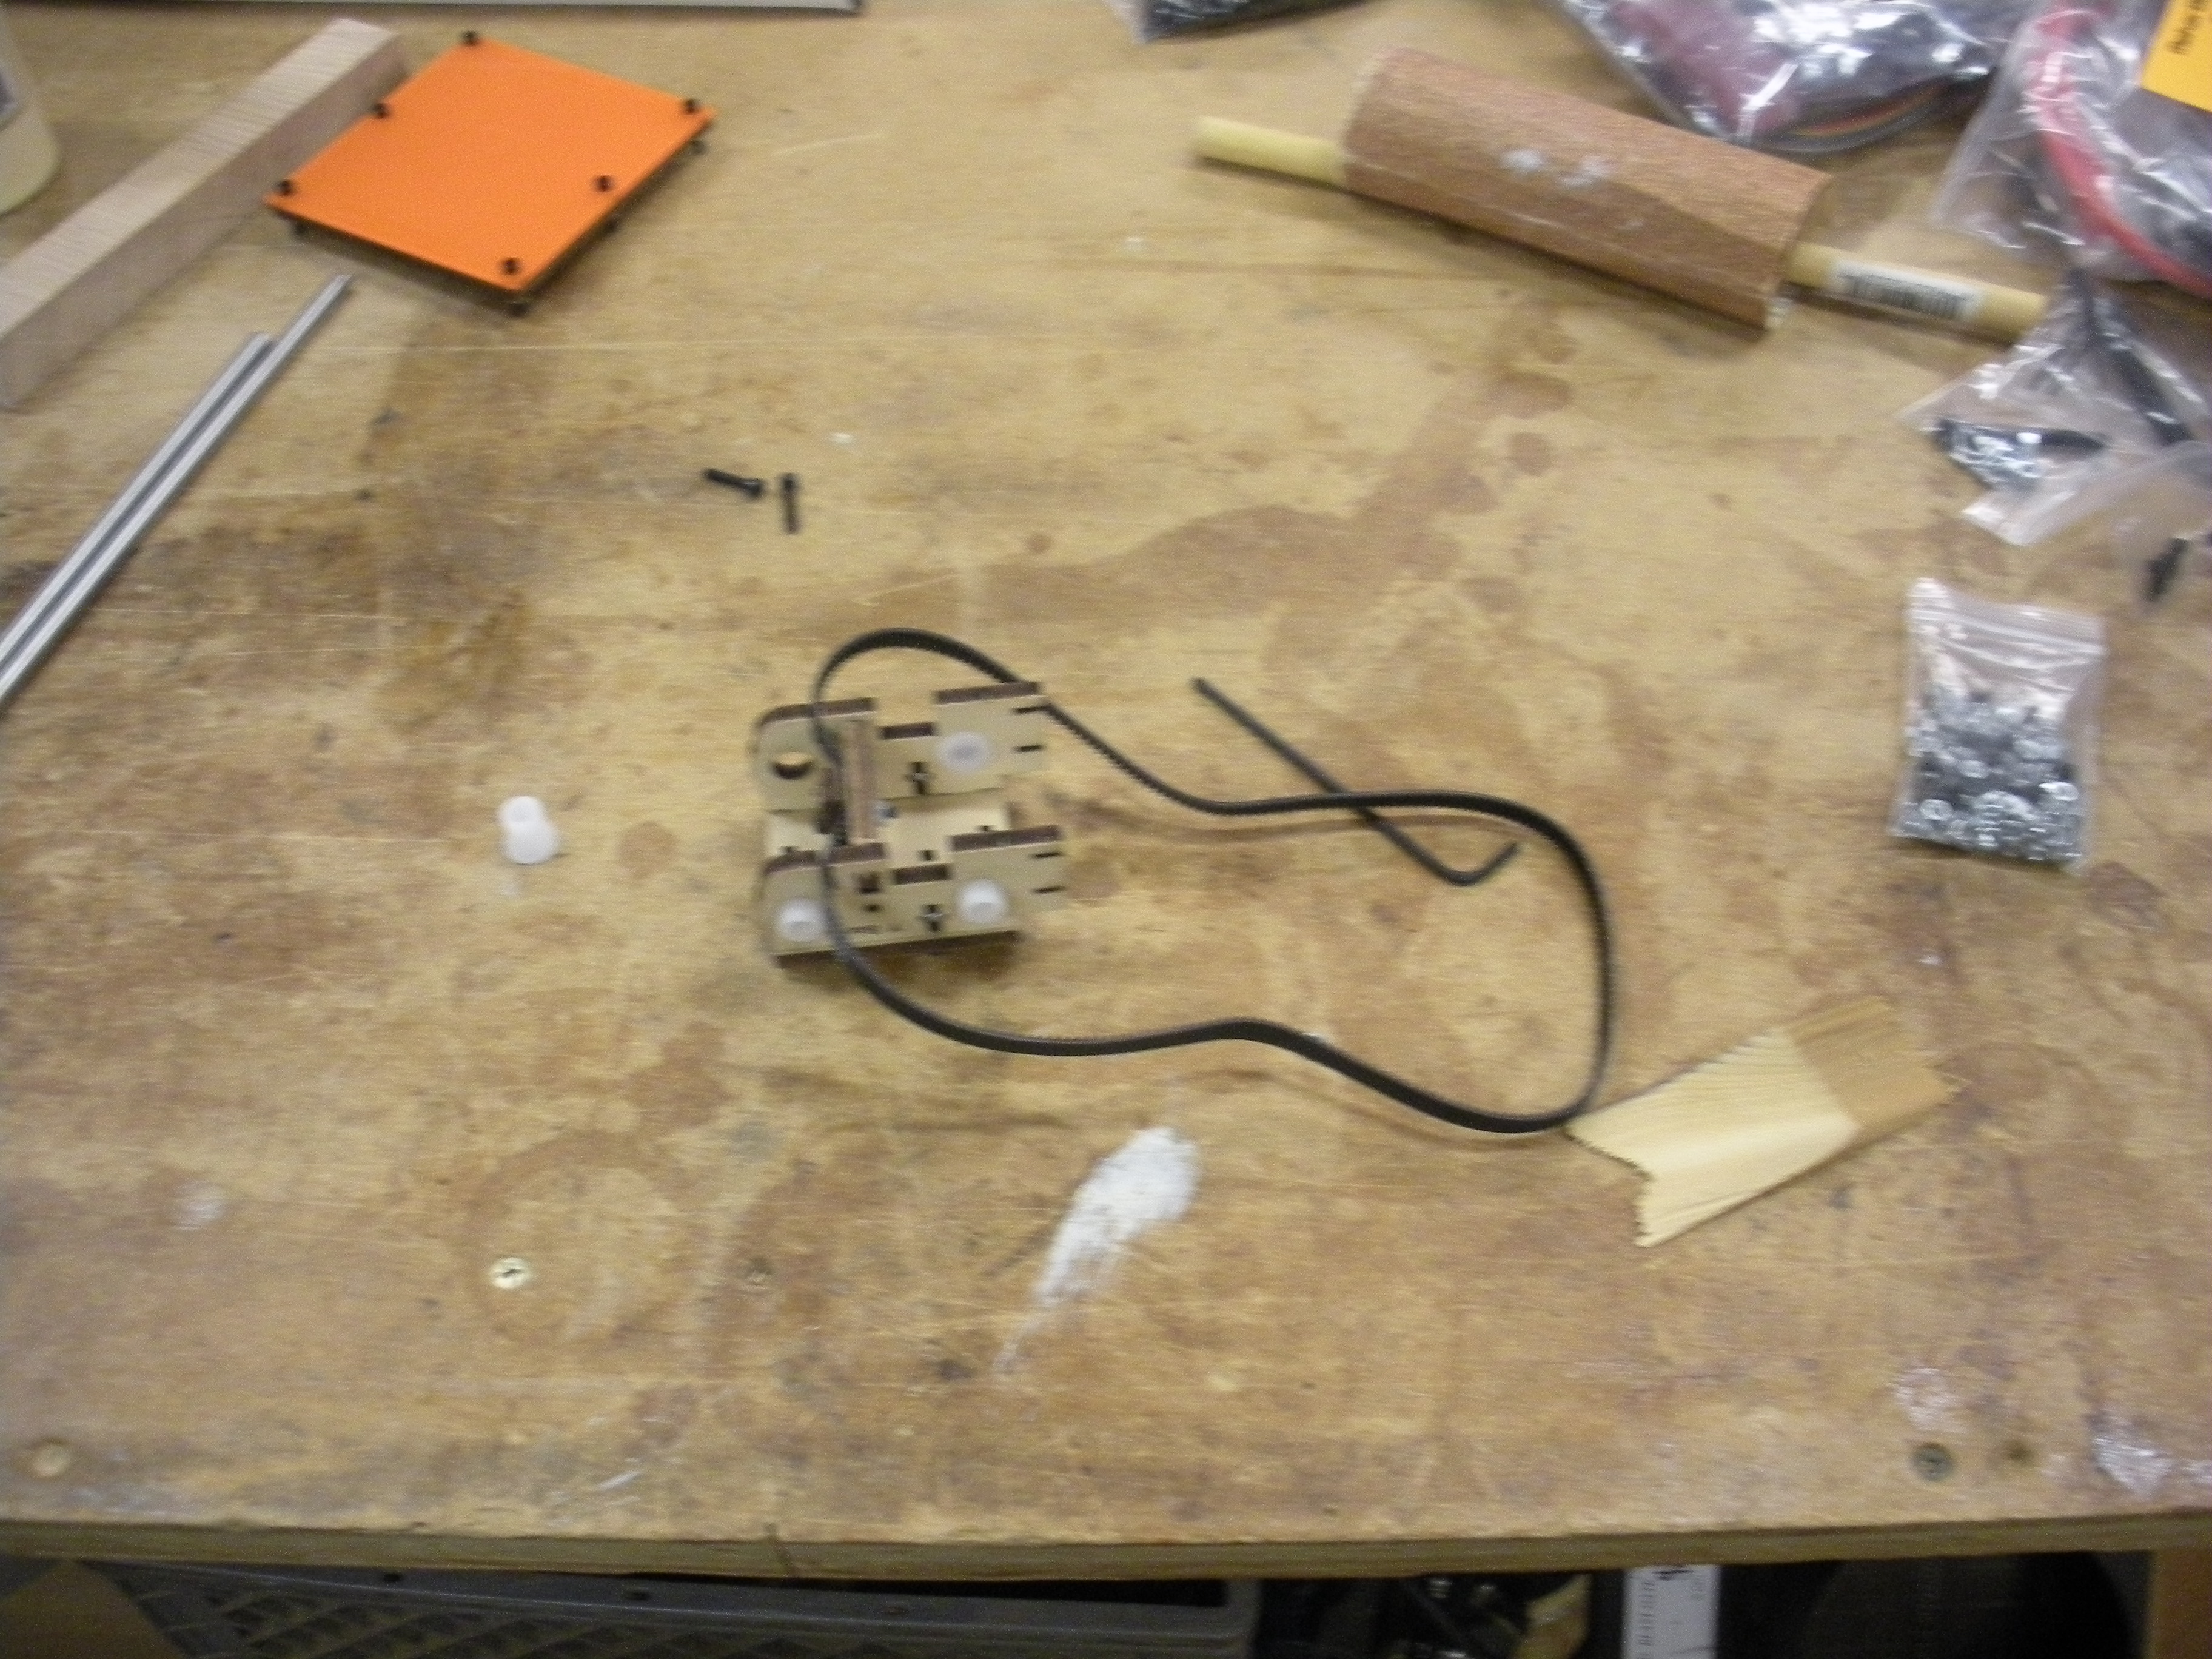
Today, Day 1, I built the first stage, which is called the Y Stage Assembly. I wish I could explain why it’s called that. Y almost certainly refers to the Y (up-down) axis, and the Stage, which is the orange thing in the pictures, is what objects are printed on.
The MakerBot components in the kit are really well organized, and the documentation is extremely good - it even incorporates mistakes that past users have made, and videos are available to make the build process as straightforward as possible. With that said, I am going to use these entries to point out things that could be improved. There are a few things that were more difficult than they could have been today.
Some of the parts are slightly different than the pictures in the wiki (for example, a couple of parts now have a Makerbot logo, and the flanges are white now, instead of black). This made it surprisingly difficult to find pieces, since otherwise I don’t know what a “flanged slide bearing” is. It seems like a really small detail, but it actually matters a lot for more naive users, like me.
The build quality is not that precise. On several occasions, I had to sand a part down to get it to fit, or holes were slightly misaligned, so I had to work really hard to get a screw into place (while worrying about cracking the materials I was screwing together). Could one of the included tools be a metal rod with a rough surface that makes it easier to sand holes to an appropriate size, or to a large enough size to accommodate imperfections?
Early on, you have to get a bunch of magnets into holes, and they all have to be aligned in a certain way. This is because two of the parts are held together by strong magnets, rather than by glue. I think this idea is ingenious, and I assume it comes in handy later although I don’t know when. However, this is an immense pain to gain right, since you’ll put a magnet in a hole, and then fill another hole with a magnet, and the magnets will sometimes jump out and stick to each other. I don’t know what the solution to this is. Scotch tape?