Come fry with me
April 6, 2010
 [caption id="attachment_431" align="alignleft" width="300" caption="Beginning the frying process."][/caption]
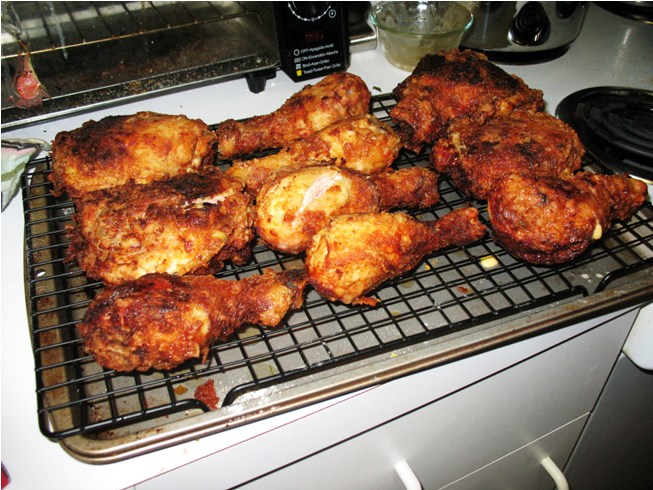 [caption id="attachment_435" align="alignleft" width="300" caption="The completed dish."][/caption]
Each time I cook, I try to learn a new technique.
Recently, I tried (shallow) frying for the first time. What better dish to make than fried chicken? The chicken is marinated in buttermilk for a day, covered in flour, and then dropped in 325-degree oil for about 20 minutes total. Delicious.
It was pretty difficult to learn how to do this, however. I bought a fry thermometer, and used a dutch oven to hold all the oil.
The hardest part is keeping the oil at the right temperature. If it’s not hot enough, your food will get soggy. And if it’s too hot, the food will burn, or the oil will. Burnt oil has to be thrown out, at a cost of about $5 per batch! We’re through the looking-glass here, people.
As you try to keep the oil at a constant temperature, you have to compensate for the significant drop caused by adding pieces of cold chicken. (See the picture to the left, where when I added several pieces of chicken, the temperature dropped dramatically). And, if you’re me, you have to work your electric stove right so that it provides heat at the right times. I never thought I would care about having an electric stove vs. a gas stove, and yet here we are.
The first time I tried this, I did indeed end up burning the oil. I admit that I did not understand how to use the thermometer correctly, and so ended up heating it to 500 degrees, which was pretty frightening. The second time, everything seemed to go alright, and I cooked all the chicken without incident. Except that the inside was not cooked through.
I finished it in the oven at about 350 for fifteen minutes. It turned out pretty well, actually! I think this might be the way to go with fried chicken - fry it to get the right texture on the outside, then finish it in the oven.